Springtime = Chick time!
It’s spring and that means daffodils and tulips are blooming – and it’s chick season! I was down to 4, 4-year-old hens, so decided it was time to replenish my hen house. I wanted 8, ordered 15 (to save shipping costs), and received 19!
This is known as chicken math.
Caring for new chicks can seem overwhelming, but it’s also lots of fun. With some careful planning and having everything you need on hand (and be prepared for some surprises!) new chickies will feel right at home.
Getting Chicks Home
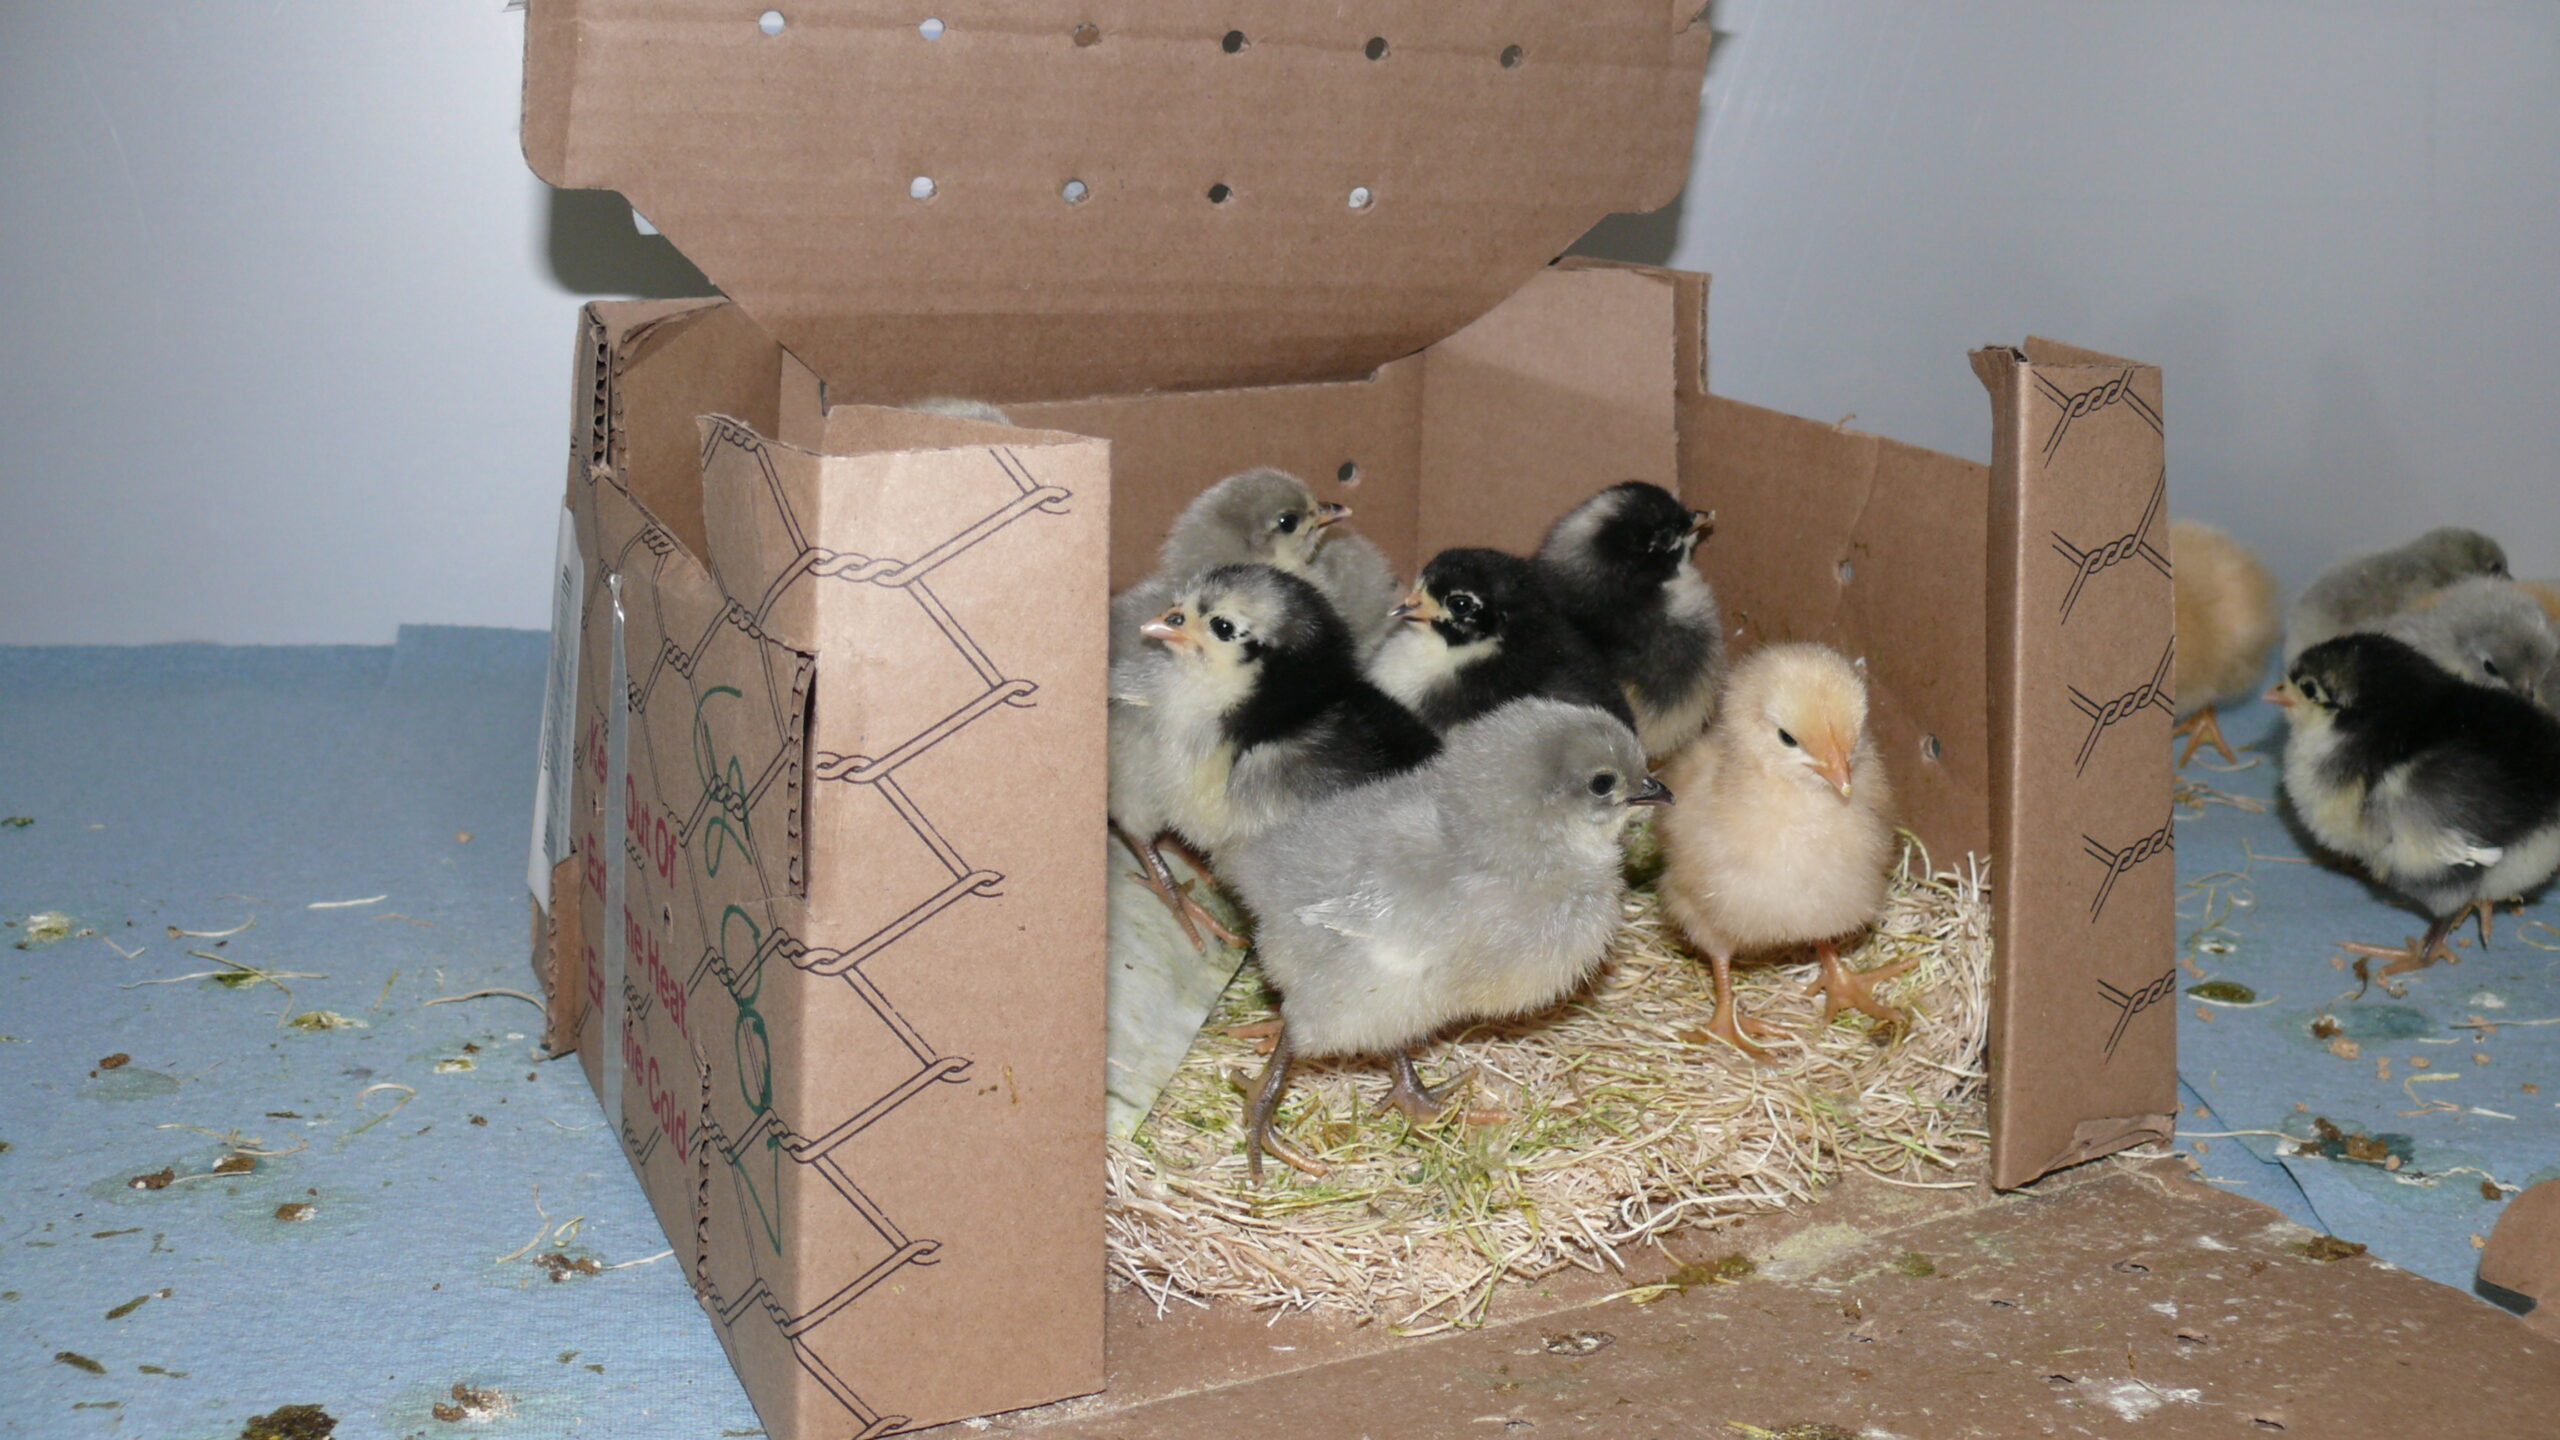
If you’ve ordered chicks from a hatchery, they’ll come shipped in a ventilated cardboard box with a straw mat and heat pack. Baby chicks don’t yet have feathers so can’t maintain their body temperature. The heat pack will keep chicks from getting hypothermia.
New chicks absorb the yolk right before hatch, which they’ll live off for about 72 hours. They should be fine, barring any shipping delays, and will begin eating and drinking after you get them home.
Once you get shipped chicks home, dip their beaks in water to show them how to drink. You should only need to do this once. If you’ve purchased chicks from a local farm supply store, they’ll already be eating and drinking.
The Brooder
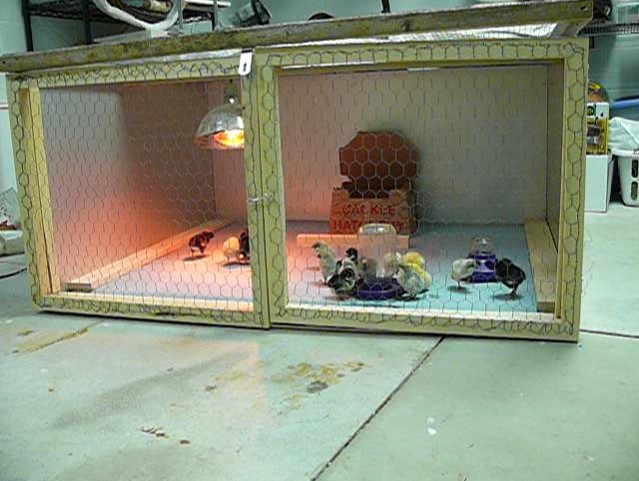
Since chicks have no feathers, you’ll need to house them in a brooder. A brooder can be anything from a simple cardboard box, a plastic container, or metal tub. I’ve used all of these. Since I had a larger number of new chicks this time, we built a brooder that would house the chicks for the first several weeks.
The brooder will go in the basement in the unfinished furnace room, with additional heat to keep the room warm. The first week or two, some chick owners keep their new babies in a spare bathroom or mudroom, but chicks create a lot of dust, so avoid keeping them in a busy living area, or you’ll find your things coated in dust.
Since we have a house cat, we added a secure top to the brooder. For 19 chicks, we built a 4-foot by 4-foot brooder. This gives them plenty of room to grow into. New chicks need about ½ square foot of space each, and they almost double in size weekly, so need room to grow into.
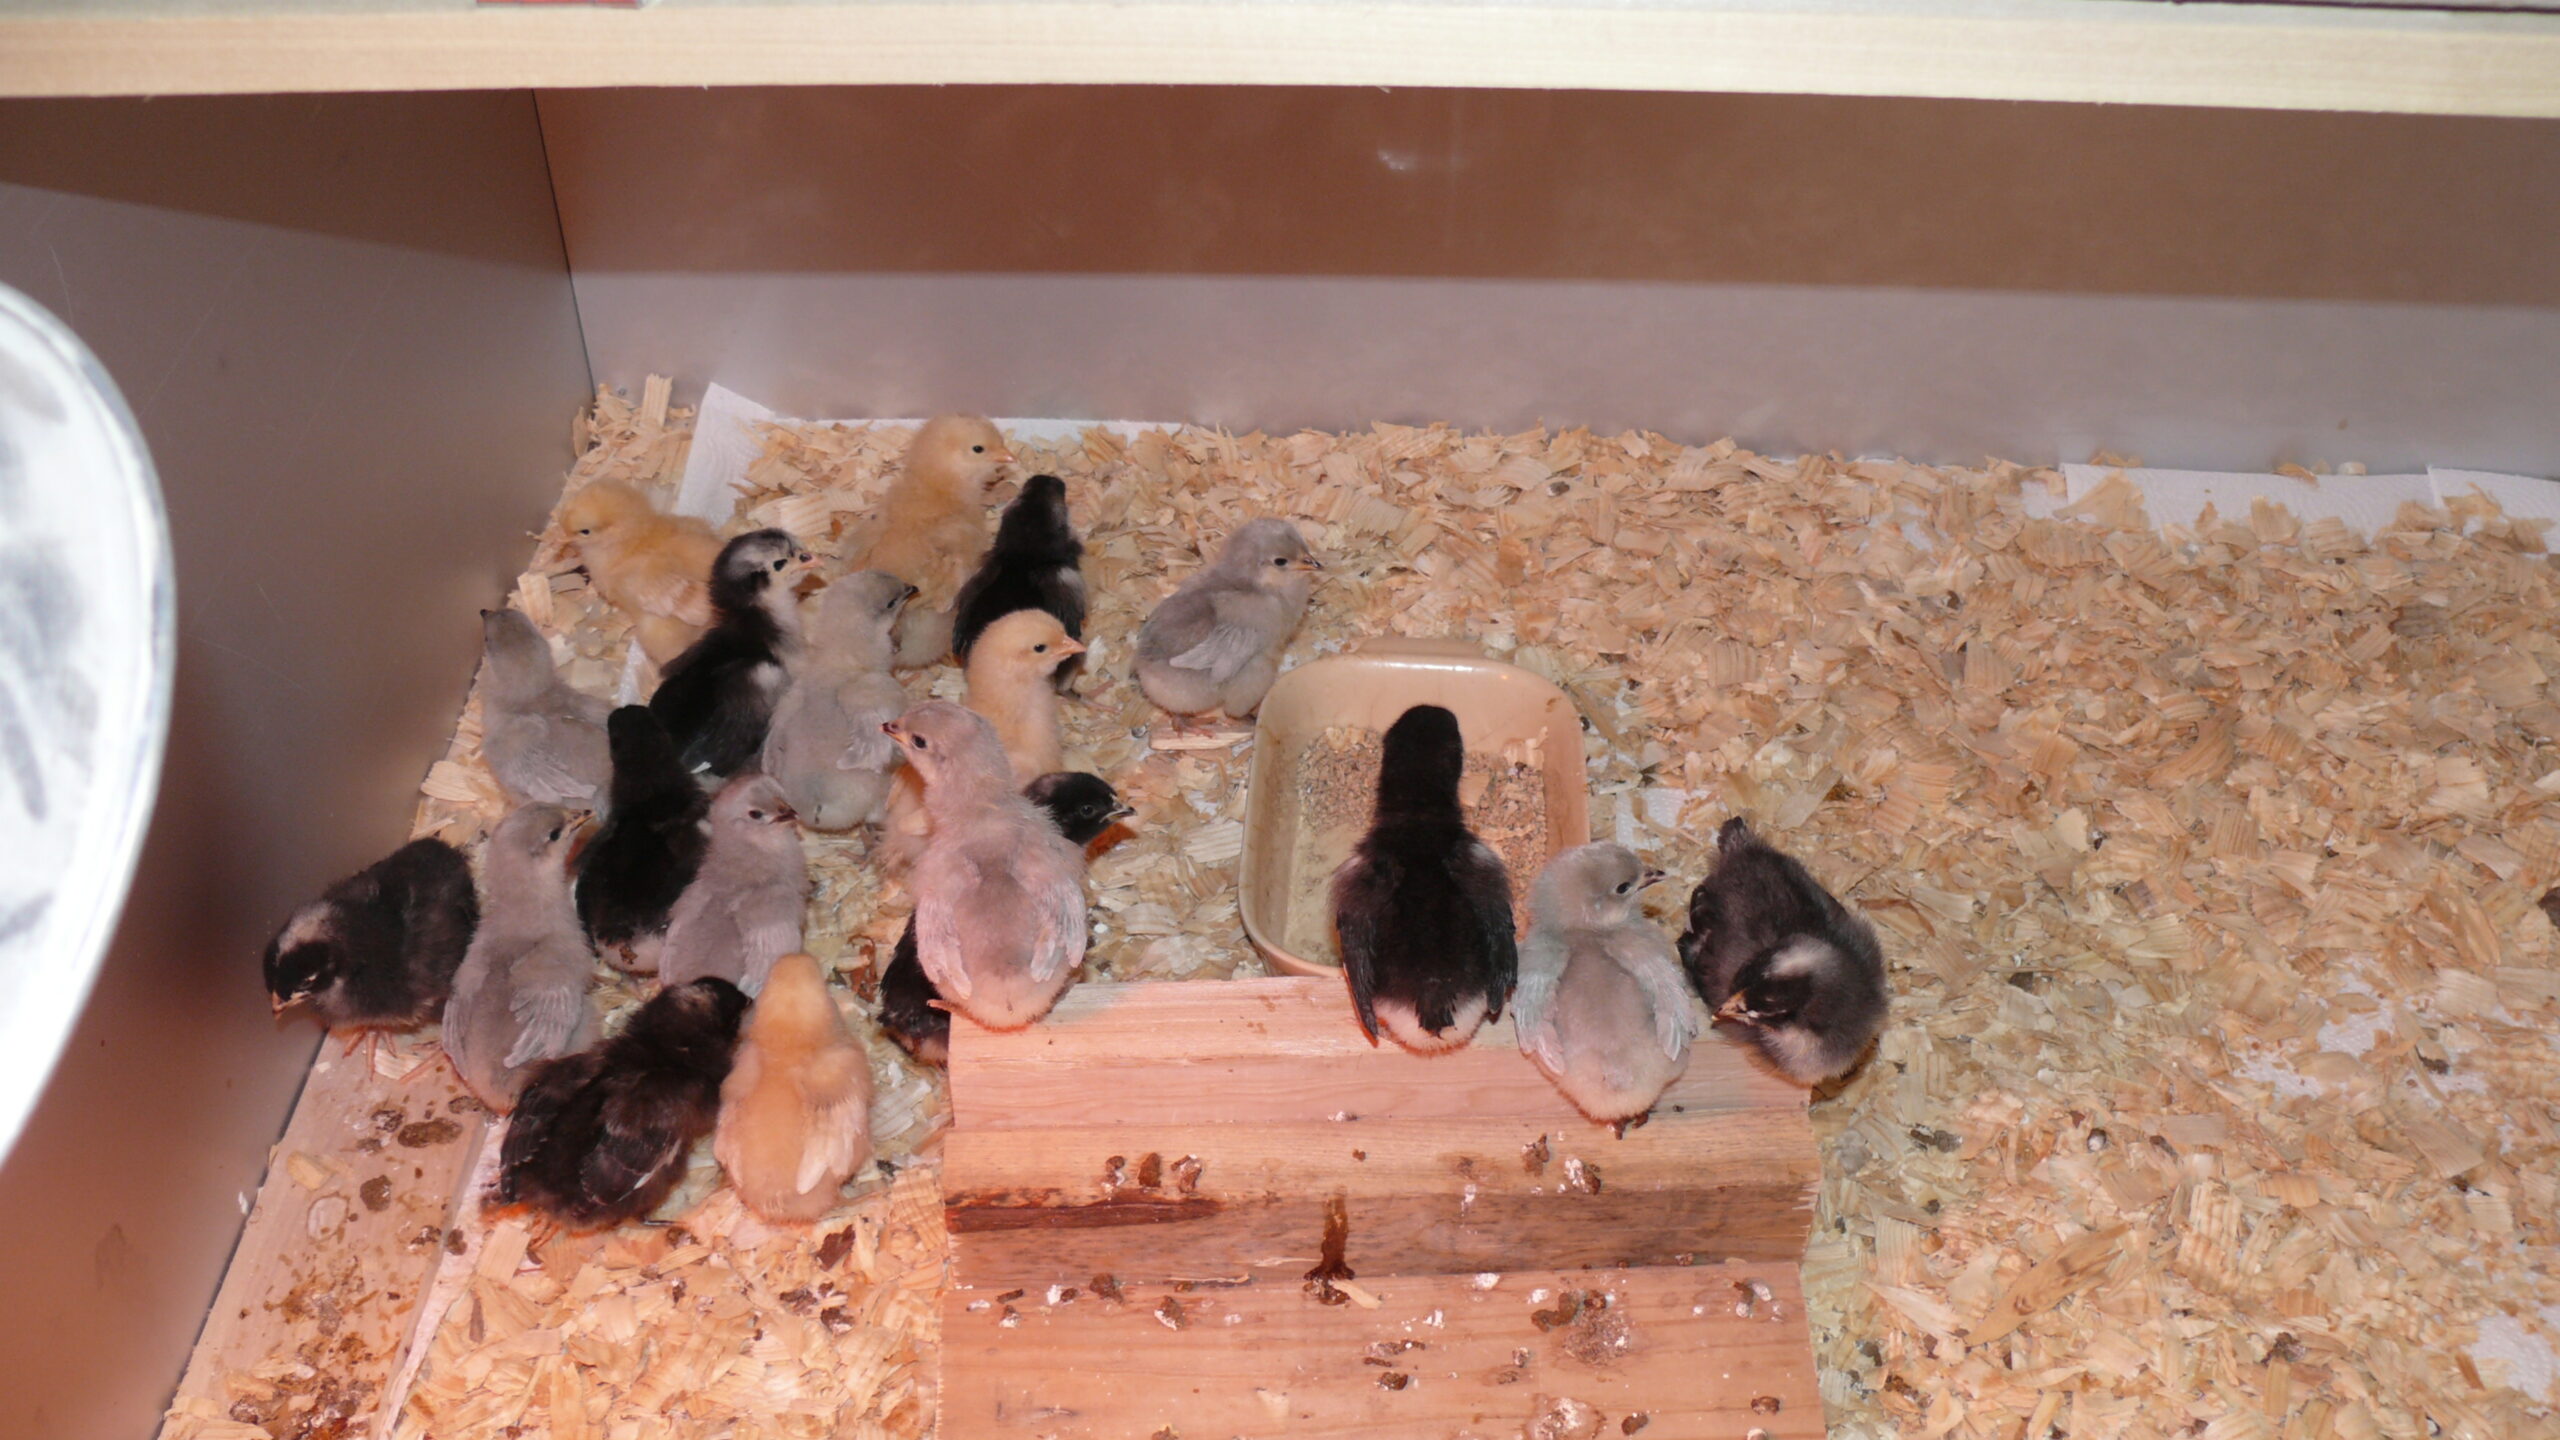
We added some wooden perches, a waterer and feeder. When I found myself refilling the feeder more than a couple of times a day, I transitioned to a larger one to save some work! The water will get dirty quickly with all the scratching, so it’s important to keep it cleaned and refill with fresh water. You’ll find they scratch chips into their water, and poop in their food, so keeping it clean is essential.
Feed the new chicks “Chick Starter,” which is a grain of about 24% protein. You’ll switch to layer feed only when they’re ready to lay, at about 18-24 weeks.
Place a heat lamp with a red bulb for direct heat. The chicks will get chilled easily, so keep a thermometer either on the brooder floor or close to it, under the lamp. New chicks need temps to stay around 95 to 98 degrees the first week. Gradually raise the heat lamp each week, to lower the brooder temp by about 5 degrees weekly. By acclimating them gradually as their feathers fill in, they’ll avoid hypothermia and be able to tolerate normal room temps when they’re ready to go outside.
Fluffy Butts are Healthy Butts
Caring for new chicks involves some minor chick-health knowledge. Baby chicks are susceptible to pasty butt, which can be deadly if not caught early. Pasty butt is when a chick’s vent becomes blocked with droppings, preventing feces from exiting the body. This usually happens in the first week to ten days after hatching.
Check chicks daily for dried droppings on their vent. A bit of dried poo is normal, but if it’s stuck against their backside, it could be pasting. With a warm paper towel, gently wipe the pasted area until it softens and can be removed. Dry the chick before putting back in the brooder to avoid the chick from being chilled. Remember, they can’t regulate their body temperatures yet, so can become chilled easily.
The First Weeks
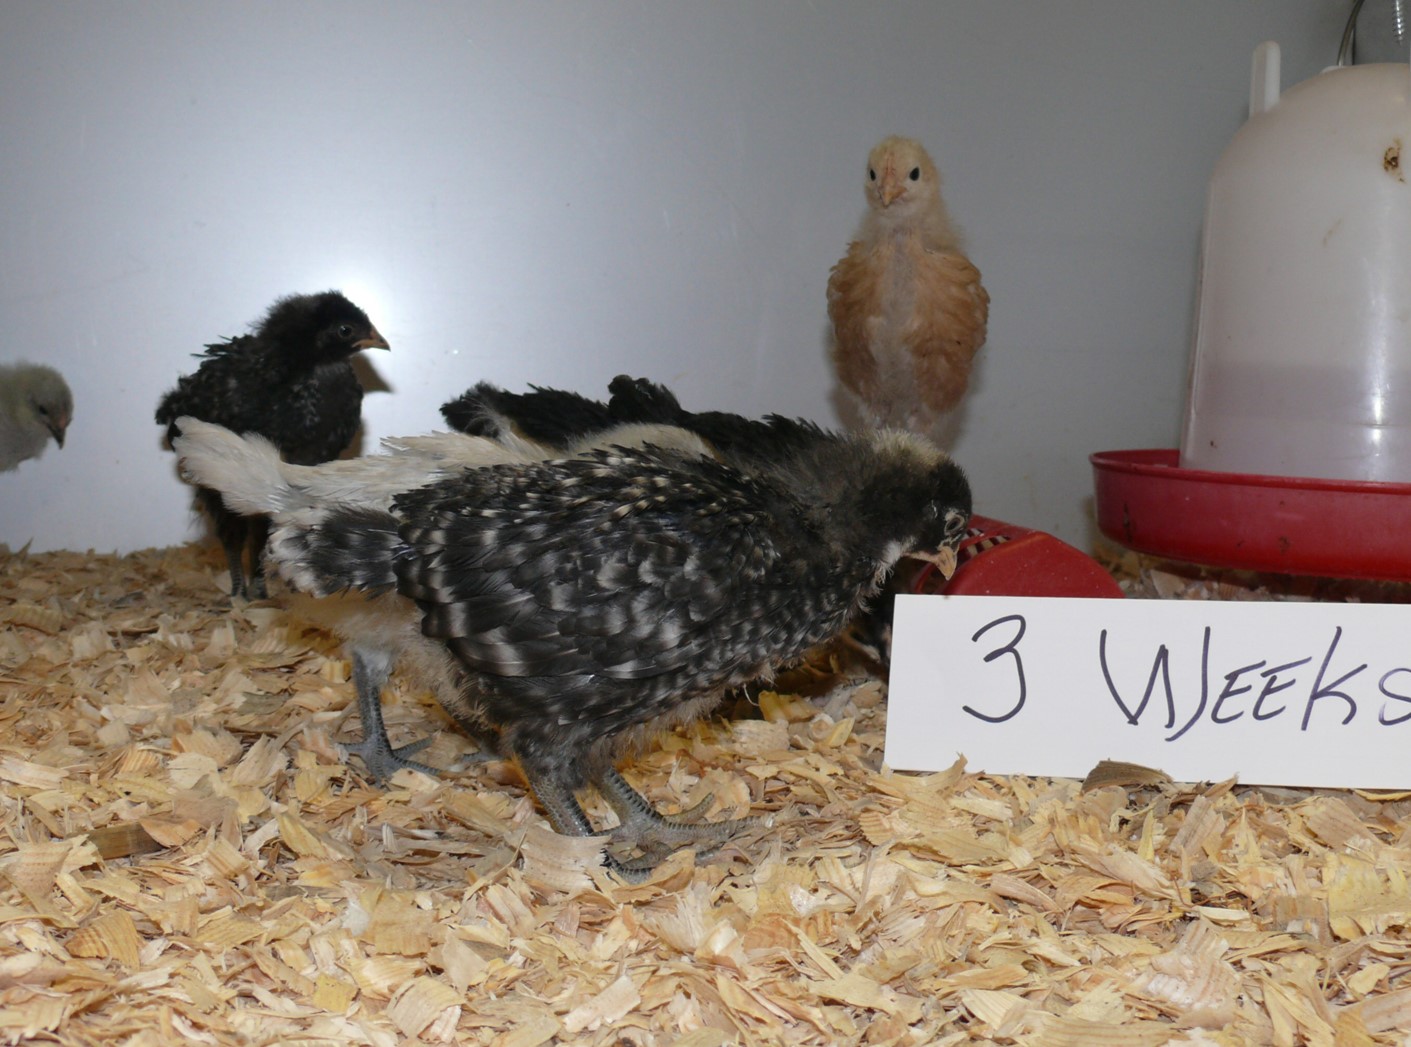
You’ll find your cute little fluffies will grow fast. Before you know it, they’ll be gangly, awkward looking teenagers! Their appetites will increase, and their personalities will begin to show. There will be some pecking and jostling for position in the flock, which is normal. If the pecking gets aggressive or you see blood, remove the bloody chick asap. When chickens see blood, they can peck a chick to death, so keep a first aid kit on hand just in case.
By week 5, my basement was a dusty disaster, so it was time to move them out to the garage and into a bigger pen. If it’s cold, you should still keep their pen heated to around 70 degrees, at least. Different breeds grow at different rates, but once they get their full coat of feathers in, they can go outside for some foraging time.
If you have an existing flock, avoid integrating young chicks until they’re about the same size as the older hens. Integrating new chicks into an existing flock can be stressful (and a bloodbath), which is why some chicken owners opt to cull their flock every 2 or 3 years and begin anew. Since I made the mistake of naming my chickens, they’re more like pets, so I keep the old girls and slowly integrate new chicks.
Keeping backyard chickens has become a popular hobby. While caring for new chicks sounds like a lot of work initially, they’ll soon grow into laying hens. Once you have a daily breakfast of fresh eggs, it will all be worth it.